Summer Breeze

This summer finds us at our home in Bexhill on Sea. Which according to our family in Spain, is a good thing. They are all decidedly fed up of the 40 degree plus temperatures that are the norm there right now, rather than the exception. We are getting used to four seasons in one day. Loving the sunshine when we have it and racing outside to enjoy it. Joining in the with locals when it rains saying “oh well, it’s good for the garden”!

I haven’t managed to grow basil outdoors in England yet, so am sticking with my pot on the kitchen window sill.

Garden Bexhill July 2015 001

Outside in our little garden though, we’re making the most of every tiny bit of space and growing a few vegetables for the pleasure of seeing them grow. Green beans are happy climbing up against the wall and the first teeny tiny beans are starting to appear. Big Man is very entertained by the fact that the flowers in England are red. In Spain they’re white and he never believed me until this year that they are different. Oh he of little faith.

Garden Bexhill July 2015 002

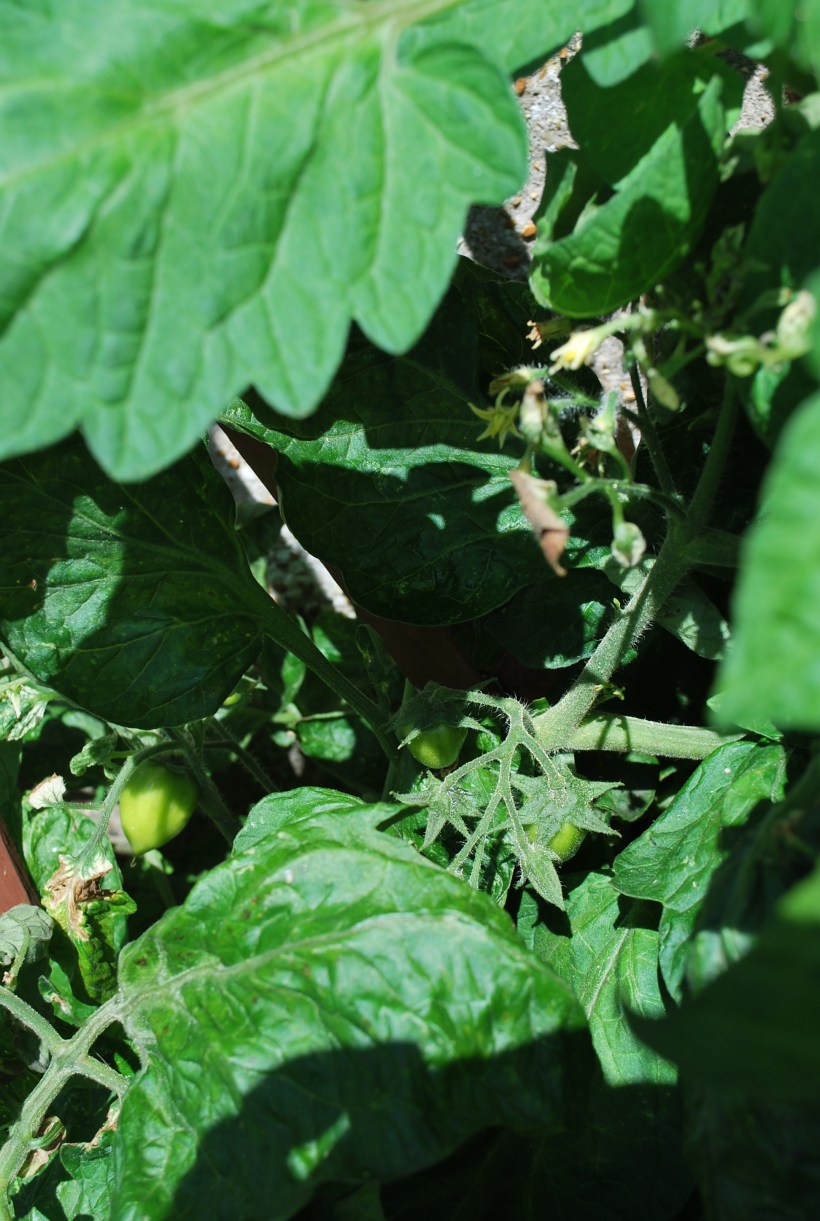
We planted tomatoes which are starting to produce strange shaped fruit – we can’t remember what we planted – so we’re just waiting to see if they’ll turn red or we’ll be eating a lot of tomato chutney or fried green tomatoes this year.

Garden Bexhill July 2015 003

Various chilli plants also went in, but the little sticks telling us which were which were “reorganised” by the dogs at the time of planting so we have no idea what we’re going to end up with. We do have a very beautiful black chilli which is ready to be picked, so fingers crossed it’s a hot one!

Garden Bexhill July 2015 008 Garden Bexhill July 2015 023

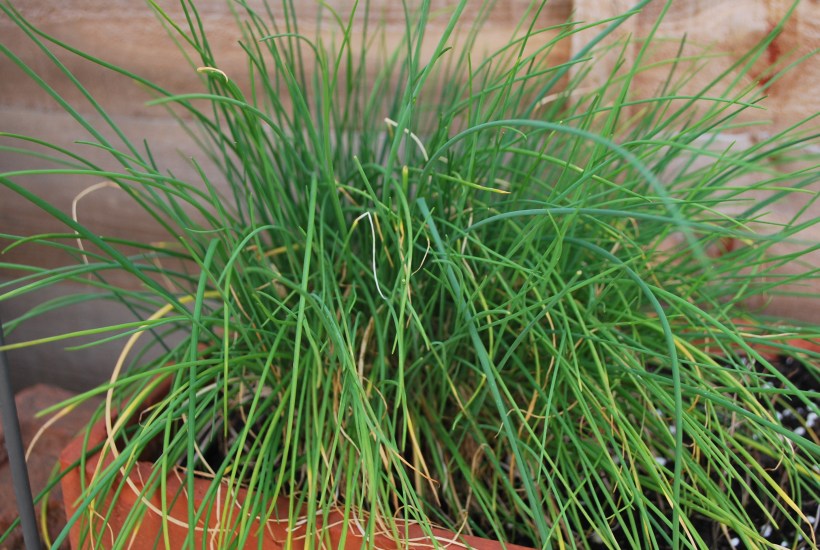
The parsley and rosemary are doing well, and the chives are happy doing their own thing.

Garden Bexhill July 2015 004 Garden Bexhill July 2015 011 Garden Bexhill July 2015 013

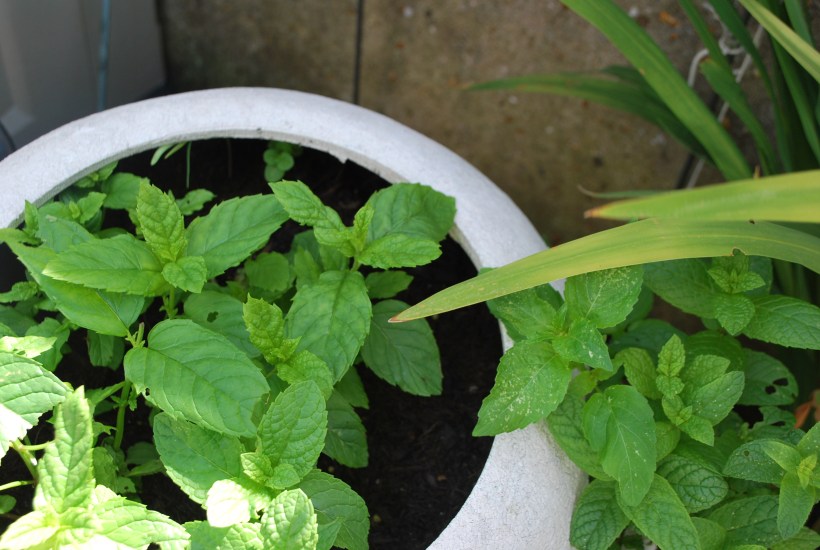
We also bought some mint roots from Spain (it seems to have a more delicate leaf than the plant we bought in England and is lovely in salads and infusions). The plants (grown in a recycled strawberry planter) are just starting to really get going.

Garden Bexhill July 2015 012

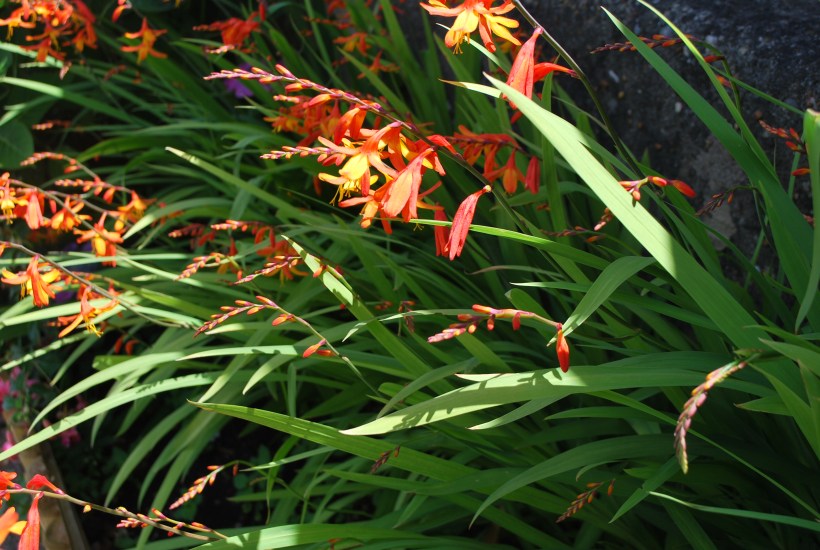
Of course, there’s room for flowers too, most of which were already here, I love the strong colours we’ve got. The white geraniums were grown from cuttings from a plant we had in a small pot.

Garden Bexhill July 2015 010 Garden Bexhill July 2015 024 Garden Bexhill July 2015 009

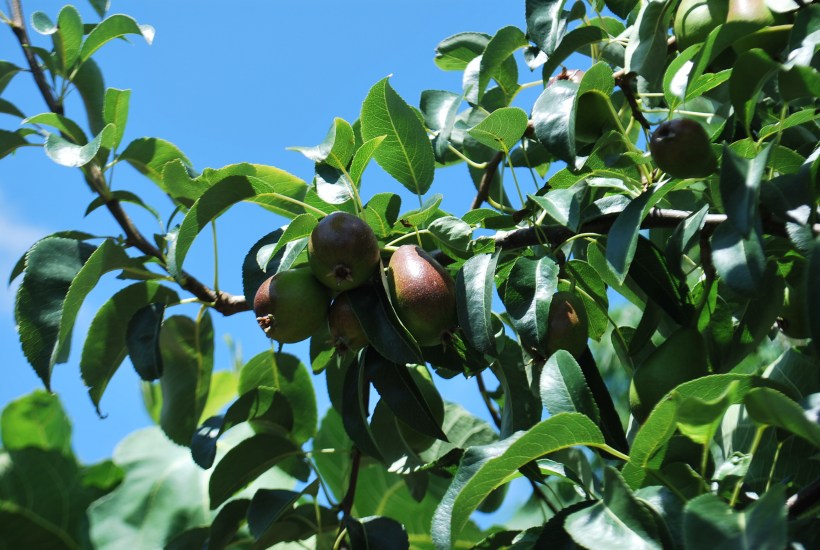
The pears continue to grow, hopefully we’ll get a lovely crop in the early autumn.

Garden Bexhill July 2015 020

And the dogs, naturally, are always on hand to offer advice, help with the digging and showing us the sunniest spots when we need to take a little breather.

Garden Bexhill July 2015 014 Garden Bexhill July 2015 016

Sorry about the picture overload but the light was so lovely today…it made me happy to think how much you can do with just a little outdoor space.


Advertisement

Garden Vegetable Pizza with Blue Cheese

The vegetable garden is now delivering well and we are trying to make the most of it before we have to walk away from it for at least a month. We´re both really sad about this, and I don´t imagine I´ll get too much bottled or frozen this year.

However, some lovely neighbours will be coming in and keeping an eye on things and looking after our chickies. They don´t have a veggie patch of their own, so they are going to enjoy what we´ve planted, so we´re very happy that it won´t go to waste.

In the meantime though, we´re enjoying what we have and last night we enjoyed a pizza with a difference. No tomato sauce!

It´s a sort of Pizza Bianca, in that it´s white, with some lovely fresh vegetables and herbs from the garden – red onion, courgette and rosemary.  I seem finally to have cracked making a thinner, crispier dough, so if you fancy a change, give this one a go. It serves two hungry people or 3-4 regular folk if you have a salad with it.

For the dough

  • 250g strong white flour
  • 1 teaspoon of easy blend yeast
  • 1 teaspoon of salt
  • 3 tablespoons of olive oil
  • 125ml of water

For the topping

  • 125g cream cheese blended with 3 tablespoons of milk to make a thick paste
  • 75g blue cheese (I used gorgonzola) crumbled or chopped
  • 1 medium red onion halved and finely sliced
  • Half a large courgette very thinly sliced
  • About 4 sprigs of fresh rosemary (pull the leaves from the centre stems)
  • Freshly ground black pepper

To make the dough mix all the ingredients together either in a bread maker or by hand and knead for about 10 minutes then set aside to rest for about 45 minutes. Roll out thinly and place onto a sheet of greaseproof paper placed on a baking tray or flat board. Leave for about 30 minutes.

When you are ready to make the pizza, turn the oven to high and leave to warm for at least 10 minutes and make sure you place the baking tray you will use for the pizza (not the one it´s sitting on right now) in there to heat up. If you have a pizza stone, all the better!

Spread the cream cheese over the dough, then add the courgettes and onions and sprinkle over the blue cheese and rosemary. Finish with a good grind of black pepper and then remove the hot baking tray from the oven.

Slide the pizza (you can leave it on the greaseproof paper) onto the hot baking tray and pop it back into the oven for about 10 minutes or until the dough is starting to brown.

Cut yourself a big slice of pizza and enjoy…

PS. If you fancy a thicker based pizza, take a look at this recipe.

Pork ´n´ Beans – Slow Cooked Pork Shank with Borlotti Beans

Just what you need when it´s 32 degrees hot outside!

Ok, so I know it´s summer here and hot, hot, hot…but I just fancied it!  Our local “Big” Supermarket (ie. a 50km drive away) has started selling pork shanks.  It´s a cheap cut of meat but oh so tasty.  I bought two to cook, but in the end we still have one portion of this dish in the freezer as there was so much meat on each shank.

It´s a slow cook dish, you can be a bit cavalier with the ingredients depending on how saucy you like your finished dish.  It was so tender by the time it was done, the meat fell off the bones as I served it.  This makes for a less artistic food photo, but two very happy pups!

To make the dish I used:

  • About a cup and a half of borlotti beans which I soaked overnight (but you could use tinned)
  • Two cups of tomato sauce (crushed tomatoes cooked slowly with garlic, red wine, seasoning and rosemary until thickened)
  • Two pork shanks
  • Two large sprigs of rosemary
  • A large dried chili
  • Approx two cups of water (enough to cover the pork and beans)
  • Four slices of smoked bacon, diced
  • Salt and pepper
  • Three large cloves of garlic, peeled but left whole

To finish the dish

  • Half a cup of finely chopped bobby beans
  • Four small potatoes, diced

Put all the first list of ingredients into a large pot with a lid and cook very slowly for about four hours (or longer) in a low oven.  If you have time, it´s best left overnight before eating to allow the flavours to really develop. When I was ready to serve I heated the dish up and simmered for about 20 minutes to allow it to thicken a little then I added the beans and potato and cooked them until tender.

This slideshow requires JavaScript.

Definitely a dish to eat with a lovely glass of red wine, lots of crusty bread and a big spoon.  Have a sofa handy for reclining afterwards, a siesta is now in order!

Kid (or lamb) with rosemary and garlic

Simple and tasty

We´re very lucky here to be able to get hold of the freshest, free range goat and lamb. I know that most lamb is free range anyway as it needs to graze, but I guess we can never be too sure if there have been chemical sprayed on what they eat or if they are getting food supplements. When I first arrived in Spain my only experience of eating goat was in a plate of curried goat at an ethnic restaurant in London.  It was alright, I suppose, but apart from a delicious sauce, the meat was rather tough and greasy.

I read somewhere that more goat is consumed per person in the world than lamb, and I guess it makes sense.  They are hardy creatures, can survive in very rough terrain and can climb to what we would consider inaccessible heights to reach their food.   Once I had tasted good kid (or young goat) out here, I realised that taste wise, it´s very, very similar to young milk fed lamb.

When you see the flocks of goats going past your house daily, you know they´re well fed and looked after.  We buy direct from the goatherd who slaughters for you and then you have to prepare it for the freezer.  I´m sorry if this all sounds a bit gruesome to anyone who either doesn´t eat meat or is a bit squeamish, but it´s what has to happen if you choose to eat meat.  And I do, and luckily I am able to eat the freshest most organic, free range meat possible.  Whew! Hope that didn´t sound like I was on my little soap box.

Anyway, one of the cuts of meat you get is neck of kid -and I know that in the UK at least, you can buy neck of lamb. It used to be one of those cheap cuts, but has now become trendy. It´s cooked in the oven simply and then depending on the weather I serve with salad or vegetables and plenty of crusty bread to mop up the juices.  It´s best picked up and eaten with your fingers!

It´s an incredibly quick and simple dish to prepare if the meat is young and tender and lamb can be substituted for goat.  If it´s a little older, just add more liquid and cook for about 30 minutes longer. You´ll need the following:

  • Neck of lamb for 2 people (I think mine was about 800g)
  • 6 cloves of garlic
  • A large spring of rosemary
  • Coarse salt
  • Freshly ground pepper
  • A glass of white wine
  • A glass of water
  • Half a lemon

Rub the lamb with seasoning and roughly chop the rosemary and mix it in with the lamb.  Peel and half the garlic cloves and add them in.  Pour over the wine and if you have time to leave it for a couple of hours, so much the better.

Leave for a while if you can

Put into an oven dish where it will fit quite snugly and put into a high oven for 10 minutes.  Lower the heat to medium, cover with foil and cook for a further 45 minutes approximately.  After about 20 minutes check the liquid – you don´t want to casserole it but you want some at the bottom of the bowl to cause a slight steam effect under the tent of foil.  If necessary add more water.

When it´s done (you can check by prodding with a skewer to see if the juice run clear), remove and leave it to sit for 10 minutes still under the foil.  Squeeze over a little lemon juice, then serve and enjoy!

PS. Sorry for blurry photos, they were taken with my old camera which was on its last legs!