Beef and Mushroom Pie

Flushed with the success of my recent rough puff pastry I decided to use it again in a warming pie.  Of course, I turned to my pal Mad Dog for recipe inspiration and came across his gorgeous recipe for Steak and Kidney Pie. Using this as the start point, I gathered together my ingredients and got going.

Steak and Mushroom Pie (3)

Ingredients (serves 4): 

  • About 1kg of braising steak
  • 2 medium onions (finely chopped)
  • 1 stick of celery (finely chopped)
  • 1 carrot (finely chopped)
  • About 20 button and chestnut mushrooms (finely chopped)
  • 5 cloves of garlic (crushed)
  • a pinch of crushed chilli or chili powder
  • ground sea salt, black peppercorns, and a tablespoon of finely chopped fresh rosemary, 2 bay leaves
  • 2 tablespoons of tomato purée
  • Half a bottle of red wine plus enough beef or chicken stock to cover the meat and vegetables
  • Flour for coating the meat and extra (if needed) to thicken the sauce
  • olive oil as needed for frying
  • 1 beaten egg
  • extra salt and pepper to taste
  • 1 batch of rough puff pastry

Make your pastry and leave to rest in the fridge while you get on with the pie filling.

Cut the meat into small cubes and toss them in seasoned flour.

Fry in a little olive oil until browned on the outside (you may need to do this in batches) and set aside but don’t clean out the pan. Add more oil if necessary and gently fry the onions, carrots and celery until the onion is soft and transparent.

Return the meat to the pan and add the mushrooms and garlic. Cook for a few minutes until the mushrooms start to soften then add the seasoning, herbs, tomato purée and liquid. Bring to a gentle boil and transfer to a casserole dish with a lid and continue to cook either on the stove top for about 2 hours on a very low flame or in a low oven until the meat is very tender for 2-3 hours.

Beef & Mushroom Pie (5)

Check for seasoning and adjust if necessary. If the casserole is too liquid, thicken with about a heaped teaspoon of flour mixed with a teaspoon of butter and dropped into the pot and stirred gently until the sauce starts to thicken.

Allow the filling to cool (overnight is best as the flavours will develop) and then you can assemble your pie. Pour the filling into a pie dish and cover with your pastry, cutting a few holes to allow the steam to escape and brushing with a beaten egg.

Beef & Mushroom Pie (2)

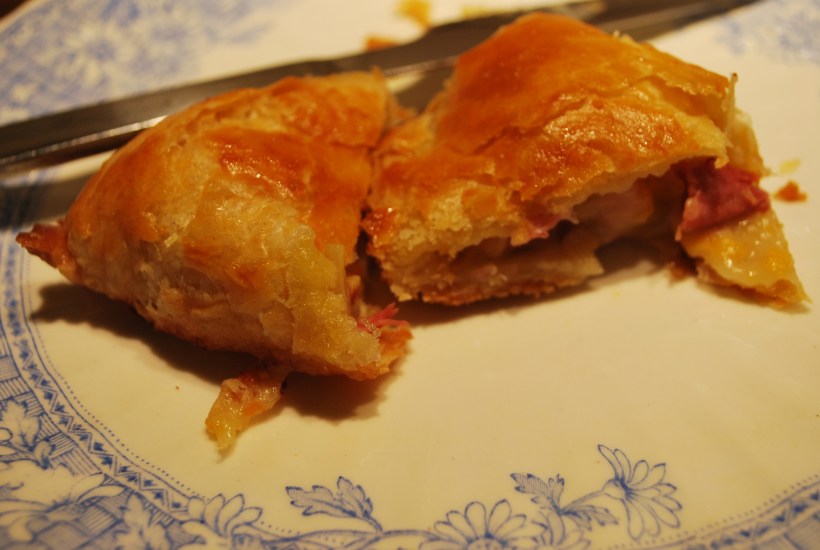
I tried to get artistic like Mad Dog but my attempts were more reminiscent of the devil we saw last year on our trip to Jersey. Eek! Luckily I made a double batch of filling and I left the second pie plain…much more appetising.

DSC_0094

Bake for about 30-40 minutes at 220 degrees C until golden brown. Sigh!

Advertisement

Ham, Cheese and Mustard Pasties

One of the lovely things about Street Food in England is that you can eat your way around the world in the space of 100m. From Asia to America, around the Med and back to Blighty – it’s all there for you to enjoy.

Ham Cheese & Mustard Pasties (13)

A dish which has been cooked for hundreds of years in England is the Cornish Pasty, and whilst purists will tell you exactly what should and should not go into one, I think most people agree that when made well, they are delicious, filling and portable. Great picnic or street food.

This is by no means a Cornish Pasty – it was made from the leftovers of some spiced ham. And as we move further into January, I am sure many of you will have cooked a ham for the Christmas table so it’s great for using up leftovers.  This recipe is a great one to prepare to take with you on a winter walk to burn off some of the excesses of the festive season. God forbid you should get hungry! If you don’t have ham, this would be great with leftover vegetables or any roasted meats.

This was my first ever attempt at making Rough Puff Pastry and I’m so glad I went for it. It was easy to make and the flavour was far superior to shop bought puff pastry. Do give it a go!

Ham Cheese & Mustard Pasties (5)

This makes about 8 medium (but filling) pasties

Rough Puff Pastry

  • 300g room temperature (but not soft) butter
  • 300g plain flour
  • ¾ teaspoon fine salt
  • Up to about 200ml cold water

Mix the salt into the sieved flour and cut the butter into small chunks (about 1cm) and into the flour. Rub the flour and butter together gently but not to a fine texture – you still want to see chunks of butter.  Gradually add the water (how much you need will depend on your flour), mixing with your hands as you go until it comes together to form a dough.

Wrap in cling film and leave to rest in the fridge for 20 mins. After this time (when you can be getting on with the filling), take it out and roll it gently into a long rectangle. Fold it into thirds, roll again, fold again and put it back (wrapped) into the fridge until you are ready to use it.

Ham Cheese & Mustard Pasties (8)

Pasty Filling

  • 400ml of your boiling stock from the ham (or any stock, or milk)
  • 3tbs plain flour
  • 1 tbs olive oil
  • About a cup of grated hard cheese (I used a strong cheddar)
  • 1 tbs English mustard
  • Black pepper
  • 200g approx. of chopped cold ham
  • About a cup of finely chopped left over cooked vegetables
  • A beaten egg

Put the stock (or milk) into a pan with the flour and oil and heat gently whilst whisking. It will start to thicken to the texture of a pouring custard. Continue to cook for a couple of minutes then add the cheese, mustard and pepper and then stir in the meat and vegetables. Put into the fridge to chill and thicken slightly.

When you are ready to assemble the pasties, heat the oven to 180 degrees Celsius, divide the dough into about 8 pieces (or less if you want bigger pasties), and roll each piece into a circle. Fill one side with the filling (do not over fill), fold over the pastry and press both sides together. You can either crimp the edges or press with the tines of a fork. I have a handy Empanada maker that I use.

Brush the tops of the pasties with beaten egg and place them on a baking sheet lined with greaseproof paper. Bake for 20 minutes and enjoy when then are golden brown. These are great both hot and cold – take care not to burn yourself if you can’t resist sampling them straight out of the oven!