Griddled Aubergines with Salsa Verde and Tomatoes

Our recent month in Spain was less of a holiday and more of a race to get through a list of household chores and maintenance, family visits and dealing with banks, bills and bureaucracy. Still, it had to be done, and there were of course a few special times of relaxation and fun with family and friends. Sometimes, though, it was nice just to have a couple of hours at our little cortijo (that’s a house in the country in Spain) and relax with a meal and a bottle of wine.

Berenjenas y Limones 001

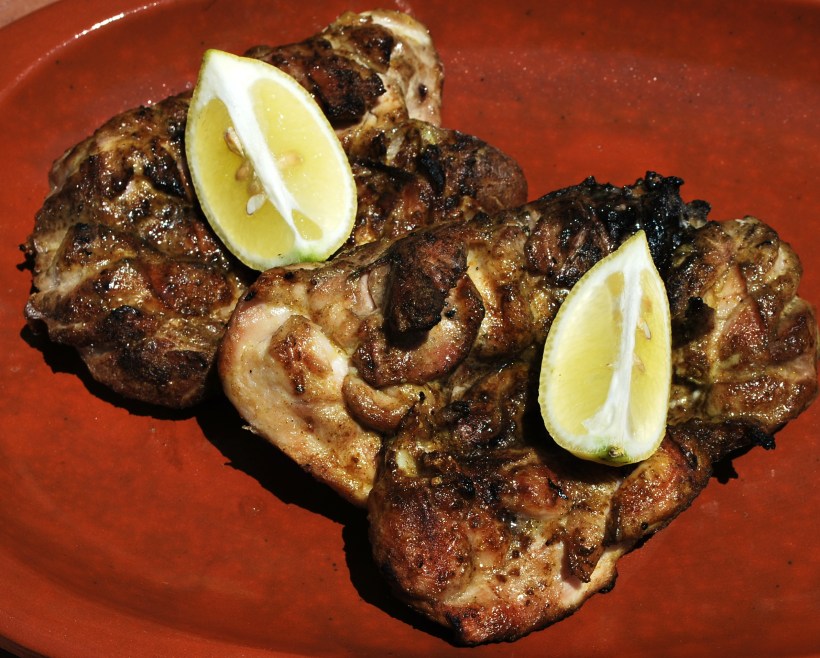
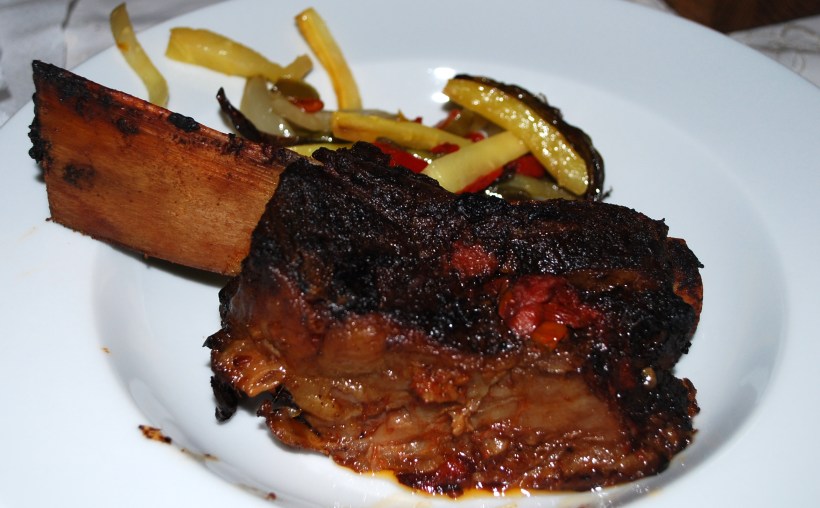
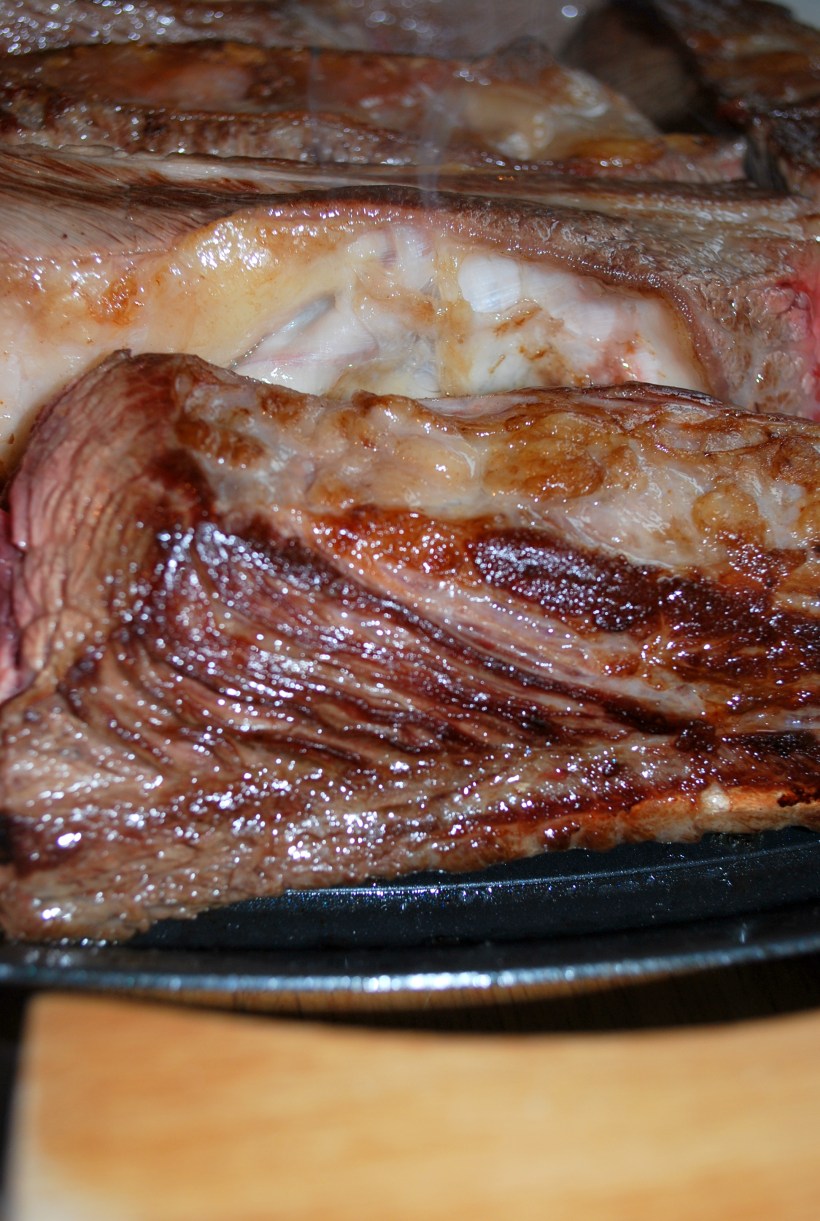
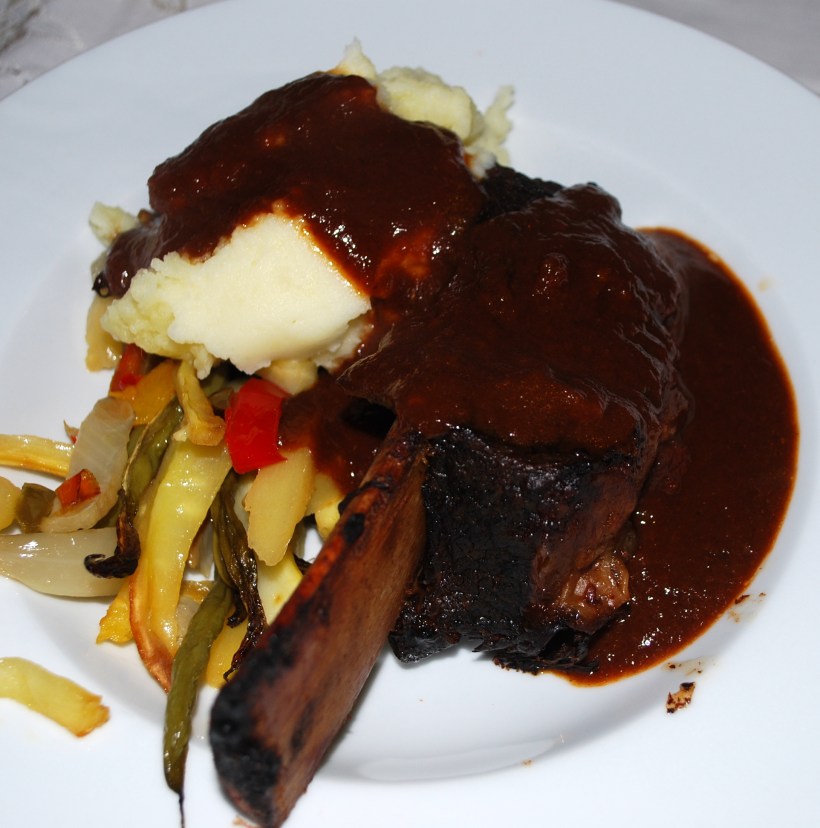
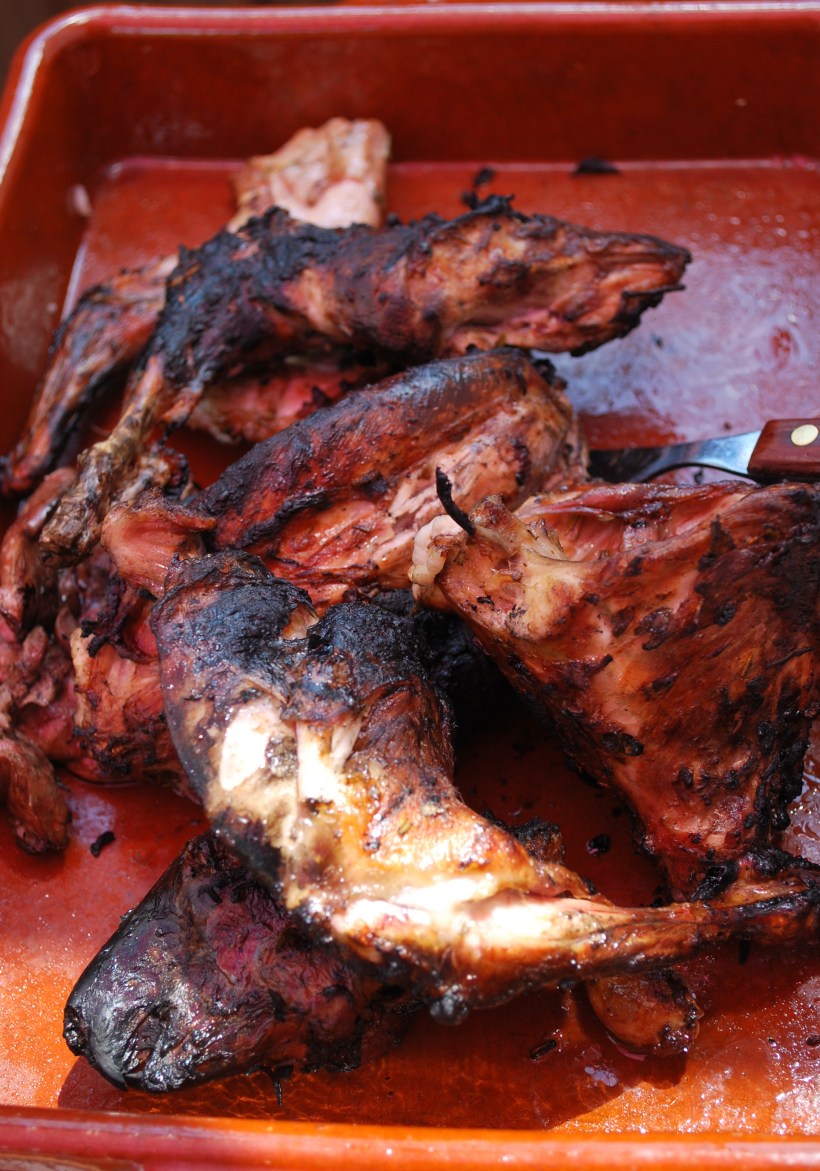
The weather was all rather unpredictable going from an initial 40 degrees which knocked us sideways, to down below 20 degrees.  Then it jumped around from lovely to grey and cloudy, rainy and windy, then back to lovely. Honestly, we could have been in England! When we did have a comfortably warm day, we fired up the barbecue and cooked and ate outside. Some days we ate meat, but after a few weeks of a meat heavy diet, we craved vegetables. Luckily we were gifted an awful lot of salad so made a local gazpacho. Sounds weird but it works, trust me!

Big Man is not a fan of aubergines, but he did give this dish a go and grudgingly agreed that it was “comestible” – that’s Spanish for edible! Luckily we also had salmorejo (another variation of the more traditional gazpacho) my very favourite summer soup, to save him from fading away and I feasted on most of the absolutely delicious aubergine.

Ingredients (to serve 2 as a main course)

  • 1 large aubergine sliced into ½ cm slices lengthways and brushed lightly with olive oil on both sides
  • Some salsa verde (Spanish style) or just make up a mix of fresh olive oil with some finely chopped garlic, herbs and a pinch of salt
  • A large tomato, finely chopped
  • A finely chopped chilli (optional)

Fire up the barbecue if the weather permits or heat up a griddle pan. I never salt my aubergines as I really don’t find them bitter. Feel free to do this if you like, but don’t, of course, brush them with oil until you’ve rinsed them.

Berenjenas y Limones 004

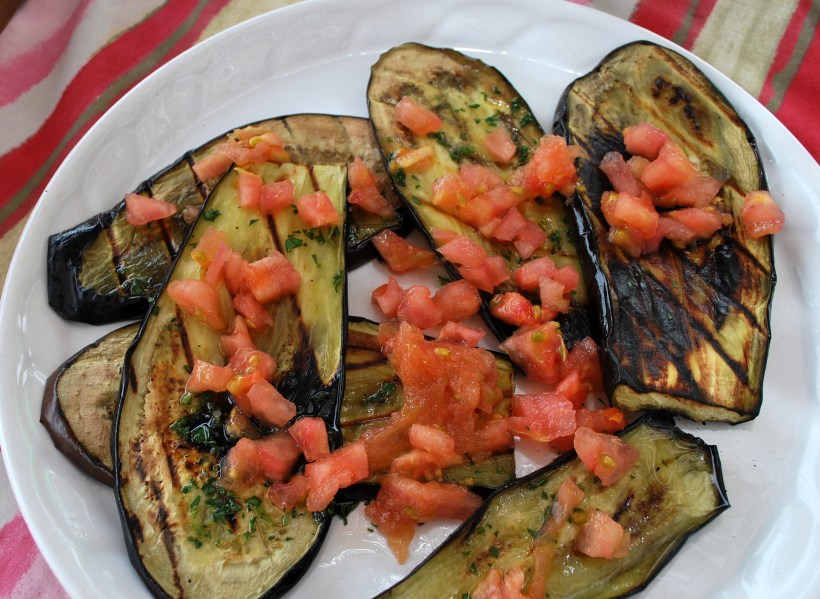
Grill lightly on both sides and drizzle over some salsa verde. Cover tightly with foil or cling film so that they sweat slightly, and absorb the dressing at they cool down. Serve at room temperature with the tomato and chilli sprinkled over. That’s it, easy eh?!

For another grilled aubergine dish, take a look here.

Churrasco de Pollo

Churrasco in Spain, Portugal and South America generally refers to meat that has been grilled over an open flame. Often it has also been marinated in something, in Andalucía it’s typically a spice mix used to make Pinchitos Morunos (Moorish Kebabs) little skewers of meat, usually pork. They’re typical fiesta food and very popular.

Churrasco de Pollo 002

At home meat can be rubbed in the spice mix (which is bought ready made) which is made up into a paste with olive oil. Generally about 3 teaspoons of mix to every kilo of meat. The meat is then cooked on a hot griddle pan or over a barbecue. We’re just back in England, so I’ve made sure to bring a supply of spice mix with me to remind me of this dish.

If you can’t get hold of the spice mix (which is almost like a mild curry powder), you can make your own. The meat I used was a 2 boned thighs and drumsticks and it was cooked on the bbq – delicious!

Ingredients

1 tsp sea salt
1 tsp ground cumin
1 tsp ground coriander
1 tsp sweet smoked paprika
1 tsp dried oregano
1 tsp garlic granules
1 tsp turmeric powder
1 tsp ground ginger
1 tsp ground fenugreek
1 tsp cayenne pepper
1/4 tsp cinnamon
1 tsp ground black pepper
1 bay leaf
1/2 tsp dried yellow mustard
pinch of ground Spanish saffron

Turn your favourite Latino music up to top volume, serve with an ice cold beer and enjoy!

Lemon and Chilli Mussels with Langoustines

Oh it’s so easy to slip comfortably back into our Spanish life. Friends and family keep asking us “which is better, Spain or England?”. We answer, absolutely sincerely, “we love them both, they’re different, you can’t compare, we make the most of each country and enjoy all the good things they each have to offer”.

Mejillones y Langostinos a la Cazuela 003

Fish Man seems to have disappeared from our route, but the supermarkets here have an amazing choice at good prices. Mostly fresh and local (or at least, from Spain) too. The other day I bought a kilo of mussels which came from near Pontevedra in the North of Spain. It’s famous for the mussel beds and we ate plenty on our trip there a few years back.

We ate SO many...the trays full of steamed mussels just kept coming!
We ate SO many…the trays full of steamed mussels just kept coming!

DSCF1277

I also bought some fresh langoustines but forgot to ask where they came from. Peppers, tomatoes and onions grown down on the coast and a rosé wine from Rueda were pretty much all the ingredients I needed to make this simple but delicious lunch dish. Oh yes, a lemon from our tree…

Rainy Sunday 24 Mayo 2015 004

Ingredients (for 2 people)

  • 1kg cleaned mussels
  • 8 langoustines
  • Half a small red and green pepper, finely diced
  • 3-4 cloves of garlic, peeled and chopped into small pieces
  • 1 medium tomato, finely chopped
  • A small glass of wine (whatever colour you like!)
  • Half a lemon cut into small chunks (and I also added half a teaspoon of my lemon myrtle)
  • Half a teaspoon of hot pimentón or chilli powder (or to taste)
  • Olive oil

I used a lidded cazuela to make this dish but a deep frying pan with a lid or a saucepan would also work.

On a low heat, warm the olive oil and add the garlic and peppers. Cover and sweat until soft. Add the tomato, wine and spices and cook for a few minutes. You can now turn this off if you’re not ready to eat and then just warm the sauce up a few minutes beforehand to finish the dish off, or continue to the last stage.

Add the mussels, prawns and fresh lemon, stir and cover. Cook for a few minutes until all the mussels are open. Don’t eat any that won’t open!

Mussels & Prawns (2)

Garnish with some freshly chopped parsley. Unless of course, Big Man has been gardening all morning and cleared all your herbs thinking they were weeds. Oh my, kitchen unexpectedness, I laugh in your face. Pour a glass of wine, and enjoy your lovely lunch with plenty of bread to mop up the juices and perhaps (as we did) a salad of tomatoes, olives, garlic and onion. No herbs though, obviously.

Slow Cooked Beef Ribs

Before we set off for Spain and the kingdom of the pig, we had one final beef-feast meal in England. We have a local butcher, a young man called Ben who is passionate about locally sourced, organic meat and providing new and exciting cuts of meat to his customers. We love to shop at his store and make the most of what he recommends.

Slow Cooked Beef Ribs (5)

The other week it was beef ribs, something I hadn’t eaten for years. Put images of the court of Henry VIII out of your mind, with massive roasts supported by half a cow. Something like that just wouldn’t fit in our modern day ovens! I bought six ribs which I asked him to separate into individual ribs, so that I could slow cook them. I had anticipated 2 ribs per person but after our prawn starter, we managed 4 ribs between 3 people – I leave it to you to decide if, like me, “your eyes are greedier than your belly” (as my grandmother used to say)!

It’s not a complicated dish to prepare, the impact of flavour comes from the long, slow cooking which can also be done in a conventional oven.

Ingredients (to feed 4-6 people)

  • 6 beef ribs, separated into individual ribs
  • 1 tin of chopped tomatoes
  • 2 heaped tablespoons of tomato purée
  • 2 crushed cloves of garlic
  • A large sprig of rosemary
  • A glass of red wine (plus one for the cook)
  • Olive oil
  • Seasoning
  • Maldon (or kosher) salt

Heat a griddle pan to high and switch your slow cooker on to heat (or switch on the oven to low). Sear the ribs on all sides on a high heat until browned. You will probably need to do this in a couple of batches unless you have a huge griddle pan like me!

Slow Cooked Beef Ribs (1)

While they are being browned, gently heat a couple of tablespoons of oil in a deep frying pan. Add the garlic and as soon as it starts to soften, add the tomatoes, the tomato purée and the wine.  Bring to a gentle bubble, season lightly and pop the rosemary in. You are not looking to make a finished sauce at this point, just to get it started and to ensure that it’s hot when it goes into the slow cooker or oven.

Put the ribs into either the slow cooker or an oven dish which you can cover. Sprinkle lightly with Maldon salt and pour the sauce over. Cover the pot/slow cooker and be very, very patient. I cooked mine on low in the slow cooker for about 10 hours, turning them over gently 3 or 4 times during this period until the meat was falling off the bones. In a conventional oven I think 5 or 6 hours should be fine, and if you can make the dish a day ahead, even better.

Slow Cooked Beef Ribs (2)

Gently remove the ribs from the sauce, trying to keep the meat with the bones if (like us) you feel cheated if someone else gets your bone.

Slow Cooked Beef Ribs (6)

Put the sauce into a pan, remove the rosemary and reduce for about 10 minutes on a medium heat. If you want a silky smooth sauce, use a hand blender to sort out those little chunks of tomato. Taste and adjust the seasoning and serve the ribs with the sauce on the side so that strange folk like Big Man can eat them without and normal folk like me can smother them. Creamy mashed potato is always a good idea.

If you happen to be in beautiful Bexhill, do pop into London Road Butchers and say hello to Ben!

For more slow cooked dishes, why not try Slow Cooked Lamb Shanks or Mustard and Cider Chicken?

A return to the simple life

Although our time in Spain will be limited to about a month (a long “holiday” some might think, but for us it’s a case of changing one home for another for a short while) we need to make the most of our time here. Sorting out a house and garden that have been looked after but not lived in for many months. Catching up with family and friends. Running around and sorting out paperwork and the dealing with the “officialdom” that invariably comes with it.

Mayo 2015 010

The plan had been to eat out frequently – a menú del día (a daily set menu in many restaurants) is not expensive in Spain – and not to spend hours in the kitchen. So far, I haven’t spent too many hours in the kitchen, but the lure of fresh, local ingredients which are quick and easy to prepare has been irresistible. Add to that the fact that we can also cook outside and it’s mostly quicker to just get cooking while multitasking with the gardening.

We’ve eaten chicken (reared by a pal who gifted us two hefty chicken thighs and drumsticks) cooked in one of our cazuelas with peppers, onions, garlic, olive oil and wine.

Pollo a la Cazuela (1)

And rabbit, marinated in a paste made of thyme and rosemary from the garden with our own olive oil and lemon and a neighbour’s garlic then cooked on the barbecue.

Conejo a la Barbacoa (1)

The weather may have gone from 40 degrees to grey and miserable, but with full bellies and a glass of wine, who can complain?!

Crispy Prawns with Lemon Myrtle – Long Distance Herby Loveliness

I think many of us, regardless of whether we’ve been blogging for months or years, will understand the friendships that can grow up through the connections we’ve made via our blogs. People leave lovely comments, ideas, share in the ups and downs of whatever we choose to discuss on our blogs. Some very kind folk go as far as sharing gifts and giveaways, allowing us the opportunity to try something from their country which we otherwise would never have come across.

Herbs (2)

Recently the lovely Margot over at Gather and Graze hosted a giveaway of some herbs from her home country of Australia, Lemon Myrtle and Wattleseed. Have you heard of them? I certainly hadn’t. Lemon Myrtle is (and I’m quoting from the packet here) “a fragrant Australian native plant which bears leaves with an intense lemon fragrance”. The packet of ground lemon myrtle really does explode with a beautiful refreshing lemony aroma.

The Wattleseed (which is roasted and ground) comes from the seeds of a species of Australian native acacia which have a roasted coffee-like aroma. It works beautifully with chocolate, and I’ll soon be sharing a recipe with you.

If you can’t get hold of Ground Lemon Myrtle (and I’m guessing a lot of you can’t), I’d suggest substituting the same quantity of finely grated lemon zest. I know it won’t be quite the same, but perhaps a good approximation.

Myrtle Prawns (2)

The recipe comes from the packet sent to me (thanks again Margot!) and I served it with a salad and a lemon vinaigrette as a starter. I did change the quantities from the original recipe as I scaled the recipe down a little.

Ingredients (to serve 4 as a starter)

  • 16 large peeled and deveined langoustines
  • ½ cup of rice flour (use plain flour otherwise, but the rice flour does give a wonderful crunch)
  • ¾ tablespoon of ground lemon myrtle
  • ¾ teaspoon of smoked paprika (I used pimentón)
  • A pinch of chilli powder
  • Salt
  • ½ cup of cooking oil (I used olive oil)
  • 2 fresh chillies finely chopped

Mix the flour with the spices and toss the prawns in the mixture. Heat the oil over a high heat and cook the prawns quickly (they probably only need a minute or so on each side) until they have turned pink and crispy.

Drain on kitchen paper, sprinkle with salt and add the fresh chilli. Enjoy!

To see how Margot used her Lemon Myrtle, hop on over and check out her delicious Australian Apple Crumble recipe!

Molletes de Antequera – Soft Bread Rolls from Antequera

It’s funny that when you are away from home, apart from missing loved ones, food seems to feature highly on the list of things people miss. Or is that just us? We love good bread and are lucky to have relative success making our own as we don’t have any spectacular bakers close to our home in England and Bread Man from Spain just won’t deliver to us this far away!

Finished Molletes (1)

About 30km from our home in Spain is a town called Antequera. One of its main claims to fame is the delicious soft white bread rolls it produces and which are typically served for breakfast or “merienda” (afternoon tea). Usually they are just split, drizzled with olive oil and perhaps a sprinkle of salt. You could be more adventurous and spread them with fresh crushed tomatoes (my favourite Spanish breakfast), or go the whole hog (excuse the pun) and add some delicious slices of Jamon Serrano.

In England you can buy soft white breakfast rolls which are very good, but not quite the same. Time to see if we could recreate a favourite breakfast bread. It’s rather an unusual method, at least I thought it was, as it involved dropping a piece of dough into a bowl of warm water and waiting for it to bob to the surface like a supersized gnocchi. Stay with me, all will be revealed…

Ingredients to make 6-8 large rolls (these rolls are typically about 30cm in diameter and quite flat, they are also lightly baked so that they don’t take on any colour)

For the “Masa Madre” – the starter, or “mother dough”

100g strong bread flour

1x 7g sachet of easy blend yeast (or you can use 15g of fresh yeast)

50ml warm water

For the second dough

500g strong bread flour

320ml warm water

1x 7g sachet of easy blend yeast (or you can use 15g of fresh yeast)

50ml olive oil

Up to 20g salt (I used less, about 12g)

To make the Masa Madre – mix the easy blend yeast into the flour then add the water and mix to a dough. If using fresh yeast, add the yeast to the water, allow it to ferment then add to the flour. Form the dough into a ball, cut a cross into the top of it and put it into a bowl of hand warm water.

Molletes 001

The dough will start to release small bubbles into the water (it’s all quite entertaining to watch!) and will rise to the surface within about 10 minutes (or less). Pour away the water and use the dough immediately.

Molletes 003

To make the second dough. Mix the easy blend yeast into the flour then add the salt. In a separate bowl add the oil to the water then add half the flour, yeast and salt. If using fresh yeast, add the yeast to the water, allow it to ferment and add the oil. Then add half the flour with the salt.

Add the masa madre to the dough (which will be very wet at this stage, I used a mixer with a dough hook) and knead for a few minutes then add the rest of the flour. Continue to knead for about 10 minutes until the dough is silky, smooth and elastic. Place the dough into a bowl which has been floured or rubbed lightly with olive oil, cover with a damp tea towel and allow to rise until doubled in size. Mine took about an hour and a half.

Molletes 004

Knock back the dough and divide into 6 or 8 equal portions. Roll into balls which should be placed onto a flat baking sheet lined with baking paper. Flatten them with the plan of your hand, cover with a damp tea towel and leave to rise again. You don’t want a massive rise on the rolls, they should still retain a fairly flat surface.

Dust with flour before baking for an authentic finish. Preheat the oven to 250 C/475 F/Gas 9 and place a bowl of hot water at the bottom of the oven. Place the tray (or trays) into the oven and reduce the temperature to 200 C/400 F/Gas 6. Bake for around 20 minutes. I left mine in for a few minutes too long and they started to take on some colour which didn’t affect the flavour but is not typical for Molletes.

Molletes 009

Eat within 24 hours as they tend to dry out a little after this (but are delicious toasted or griddled). They freeze and defrost really well and are great used as picnic rolls. Now, to work out how to incorporate Hercules, Son of Priscilla, my sourdough starter into the next batch….


Chicken Thighs with Pomegranate Molasses

The Curry Monster came knocking at my door recently. Does he visit your house too? If I allowed him to, he’d take up permanent residence with me but I don’t think Big Man would be overjoyed. He likes curry, but doesn’t have quite the same love affair with it as I do. Fair enough, two’s company, three’s a crowd! Sometimes I come across a dish like this which presses all the buttons for a curry lover and a curry liker alike. If you’re still with me, I’m sure that makes perfect sense…

The Curry Monster told me that he also fancied the tang of pomegranate molasses. I know, it just gets weirder and weirder. None of my old favourite books could help, so I went a-googling and I came across not only a fabulous recipe (which I adapted a little) but also an amazing blog. Do pop over, there’s plenty to enjoy.

Chicken with Pomegranate Molasses (4)

Ingredients (to serve 2-3 people)

  • 6 chicken thighs, skin on
  • 200mls thick yoghurt/ Greek yoghurt
  • 2 tbsp gram flour/ chickpea flour
  • 1 tbsp garlic paste
  • ½ tbsp ginger paste
  • 1 tsp chilli powder (or less if you want a mild flavour)
  • 110mls pomegranate molasses
  • ½ tsp garam masala powder
  • Salt to taste

Add the gram flour and the yoghurt in a bowl. Mix well to get rid of any lumps to form a thick paste. Next add the ginger and garlic pastes, chilli powder, molasses and the garam masala powder and salt. Add the chicken and mix well making sure to coat them well in the thick marinade. Leave to marinate for a few hours or overnight.

Preheat the oven to 200c/ Gas mark 6. Line a baking tin with foil and put the chicken and marinade in. Roast for approx 40 mins (until the juices run clear when the thigh is pierced) basting half way through cooking. I found that I had lots of lovely sauce which I love, Big Man less so. I drained the sauce off and gave the meat a further 5 minutes in the oven then served the chicken sprinkled with chopped coriander and the sauce on the side.

Serve with your favourite Indian bread, plain boiled rice and whatever else the Curry Monster tells you to cook.

Give us this day our daily bread…

I make our bread several times a week. I enjoy the process and now that I’m using my starter Hercules, Son of Priscilla (thanks Celia!), my loaves are going from strength to strength. I confess that most of the time I make my usual sourdough loaf, starting the process the night before and baking early evening of the next day.

DSC_0032

Other times I use Celia’s overnight sourdough recipe which gives fantastic results and I took on board her tip of dusting the loaf in semolina flour for a crunchy crust. Clearly, as she’s my bread making heroine/guru and I am her keen student/bread making stalker, I also made some teeny tiny loaves (like she did) using some small loaf tins I had bought to make cakes in but had never used. They turned out wonderfully and were the perfect size for a hugely filling lunch roll.

Bread 001

The last few weeks have given me time too to do a little experimenting and for Easter Sunday my father requested a loaf with whole eggs baked into the top of the dough, as this is what his mother used to make when he was a boy. I Googled Calabrian Easter bread and most of the recipes led me to make a slightly sweet bread, gently flavoured with anis and made using eggs and milk. The least said about the egg dyeing the better, but everyone enjoyed it. We all felt that it was like milk bread or pan de leche as it’s called in Spain and would probably prefer to eat it as a breakfast or tea time bread. I’m going to experiment making it again in small rolls so once I’ve perfected it, I’ll post the recipe.

Italian Easter Bread 001

The most recent experiment was to use my sourdough starter to make a whole grain loaf. I wasn’t really sure what sort of results I’d get as wholemeal flour tends to rise more slowly than white flour and give a heavier bread. Combined with a slow rising, heavy sourdough loaf I was a little concerned I’d end up baking the cornerstone of our next building project, but using a mix of a flour which contained wholemeal, wheat flakes and bran with a strong white bread flour, I got fantastic results. The bread was malty, tangy and chewy and delicious spread with butter or drizzled with olive oil. I followed the same process as my usual loaf, but didn’t add olive oil. I added an extra knead and a slightly longer bake.

Ingredients

For the sponge

  • 100ml of unfed sourdough starter (mine is fed with the same volume of flour and water)
  • 250g wholemeal flour with flakes and grains
  • 300ml water

For the dough

  • 300g strong white bread flour
  • 10g salt

The night before you want to bake (or fit this into your usual baking routine), mix the ingredients for the sponge, cover and leave overnight or for about 8 hours. Don’t forget to feed your original starter to replace what you took out!

Bread 006

The next day, add the remaining flour and salt and in a mixer with a dough hook (this is quite a wet dough) knead for 10-12 minutes until the dough looks stretchy and elastic.

Turn it into a large, oiled bowl and cover with oiled cling film. Leave it to double in size, mine took about 5 hours, but it will be different for everyone. Turn out of the bowl onto an oiled surface, knock it back, form it into a ball and put it back into the oiled bowl and cover again. Leave to rise again, this should only take a couple of hours, and turn out onto a lightly floured surface. I didn’t use semolina but feel free to use whatever you like best.

Knock back and shape either onto a round or put into a floured banneton (which is what I did). Cover with a tea towel and leave to double in size.

Bread 004

Just before you are about to bake, turn your oven on to heat at top “volume” with an oven tray inside if you are going to turn out from a banneton. Once the oven has reached its temperature, carefully take the tray out and turn your loaf onto it. Slash with a very sharp or serrated knife, put it in the oven and turn the temperature down to 150C (Fan) and bake for about 55 minutes until nicely browned and it sounds hollow when tapped on it’s lovely wholemeal bottom.

Drive yourself crazy for a few hours while it cools with the wonderful smell of your freshly baked loaf and enjoy whichever way you most enjoy bread!